

A fake tan can give you the confidence to rock a bikini on the beach or make you feel like a million bucks for a girls’ night out. But beyond cosmetic reasons, there are health benefits to getting a glowing fake tan as well. Exposing your skin to UV radiation – either from the sun or a sunbed – damages your skin cells. This damage accumulates over time and can lead to skin cancer. But when you get a fake tan, your skin is only exposed to UVA rays, which don’t penetrate as deeply into the skin. This means less damage to your skin cells and a lower risk of developing skin cancer.
Fake tans can also help people who suffer from conditions like psoriasis and vitiligo. A fake tan can camouflage patches of discoloured skin, making them less noticeable.
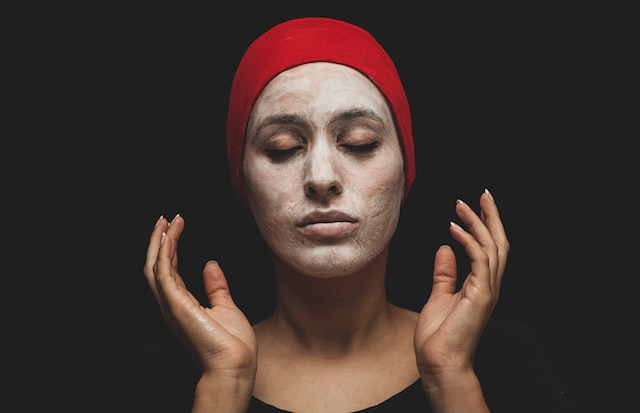
Step 1: Exfoliate
Before you start slathering on the self-tanner, there’s one important step you need to take: exfoliation. Exfoliating your skin before applying fake tan will help ensure an even application and prevent the self-tanner from clinging to dry patches of skin. To exfoliate, simply use a gentle body scrub or exfoliating glove in circular motions over your entire body. Be sure to pay extra attention to areas like your knees and elbows, which tend to be drier. Once you’ve finished exfoliating, rinse off with warm water and pat your skin dry. Now your skin is primed and ready for a flawless fake tan application!
Step 2: Choose Your Product
When it comes to faking a sun-kissed glow, not all products are created equal. With so many different fake tans on the market, how do you know which one is right for you? Here’s a quick guide to help you choose the best fake tan for your needs. If you’re looking for a natural-looking tan, go for a gradual fake tan. These products build up colour over time, so you can control how dark or light you want your tan to be. If you’re in a hurry, look for an instant fake tan. These tans will give you visible results in just minutes. Another thing to consider is whether you want a self-tanning lotion, spray, or mist. Depending on your skin type, you may find that one of these is best for you.
Step 3: Apply Fake Tan Evenly
Once you have prepped your skin for fake tan application, it is time to move on to the third and final step: applying the fake tan evenly. This may seem like a daunting task, but with a few simple tips, you can achieve a streak-free, natural-looking tan. When applying fake tan, be sure to use long, even strokes. Start at the bottom of your body and work your way up, using circular motions on areas like your knees and elbows. Make sure to blend well so there are no harsh lines. It is also important to remember that less is more when it comes to fake tan. It is always better to build up a light coverage than to try and achieve a dark tan in one go – this will only result in an uneven, patchy finish.
Step 4: Wait To Dry
Now that you’ve applied your fake tan, it’s time to wait for it to dry. This can take anywhere from a few minutes to a few hours, depending on the formula you used. In the meantime, avoid any activities that will make you sweat or get wet. That means no exercise, no hot showers or baths, and no swimming. Once your tan is dry, it will be much more resistant to water and sweat. If you can’t wait to shower or swim, there are special waterproof formulas that can be applied before getting wet. These won’t give you as good of coverage as the regular formulas, but they’ll still help protect your skin from the sun’s harmful rays.
Step 5: Check For Any Missed Spots
It’s always a good idea to check for any missed spots when you’re applying fake tan. Missing even a small area can result in an uneven tan. The last thing you want is an uneven tan! To check for missed spots, simply look in the mirror and examine your skin. Make sure to look at all angles and usual places like your back, neck and sides, as some areas may be easier to miss than others. If you notice any light areas, simply apply more fake tan to that area and blend it in well.


0